Creating a New Website Using Hugo

As someone who’s passionate about technology, I love to pick up a new technology every now and then. Some time ago, I read a blog post about how to create a personal website and how static websites were a great fit for that.
A static website is a pre-generated website where each page has a corresponding HTML page, just like it was done in the early days of the web. Nowadays we prefer dynamic websites with a back-end server that is generating pages on the fly because it offers more flexibility and a better user experience.
There are good reasons why a static site is a better fit for a personal website: easy to maintain with the right framework, quick to build, secure, easier SEO (Search Engine Optimization), and so on. The framework that I decided to try out is Hugo. It’s written in Go and optimized for speed, ease of use and configurability.
Keep reading to learn more about how I’ve set up this website over a single weekend.
Preparation
First, I made sure that I had all of the necessary pre-requisites checked or at least had a plan for it. This was my checklist:
- Register a domain name.
- Find out how to register a DNS lookup for that domain name.
- Find space to host website.
- Learn more about the Hugo framework.
Since this was just going to be a trial run, I looked for an option that wouldn’t cost a lot and soon ended up navigating to AWS. Registering a domain name was straightforward using Amazon Route 53, and Jeff Bezos was more than happy to munch on my credit card details. Setting the DNS lookup was also possible on Route 53, but I kept that for when I would have a first post ready.

Hosting my website became a piece of cake once I realised that GitHub provides you with limited free hosting space linked to your GitHub user, called GitHub Pages. There’s even a step-by-step tutorial of how to host a Hugo website on your GitHub Pages.
Finally, I read the main articles on the Hugo website and quickly realized I would learn faster while doing. So I created my GitHub repo, cloned it, and got VS Code up and running. My checklist was complete and I was ready to rumble!
Local Development
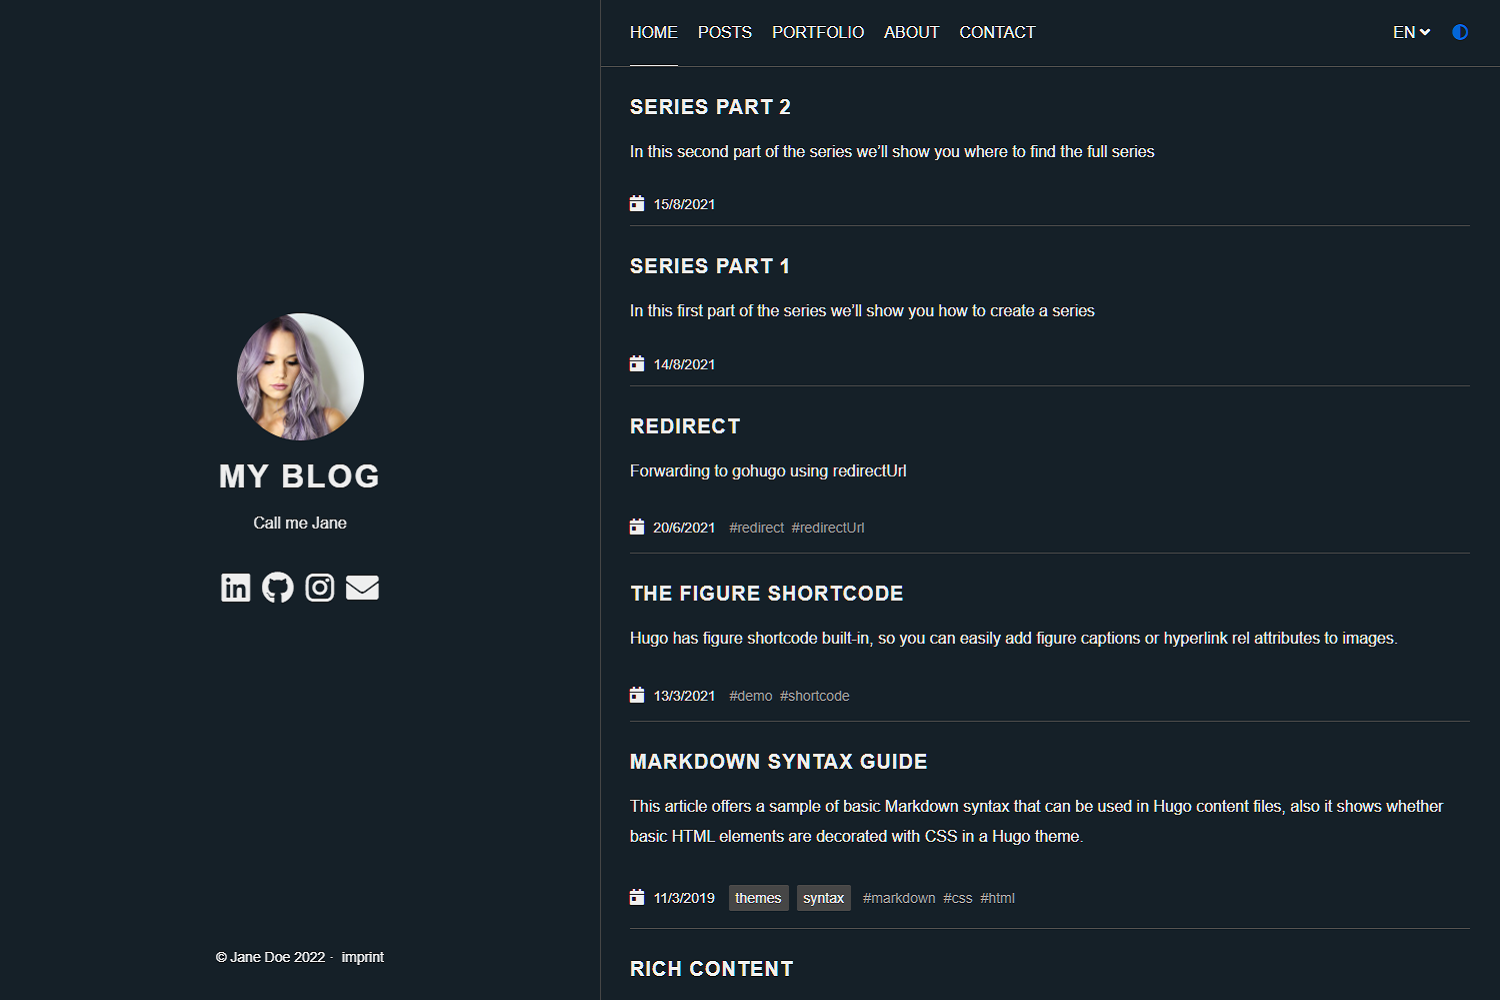
Following the Quick Start tutorial, I soon had to make a decision: which theme did I want for my initial version. It took some time to choose the right theme because layout and visuals are important, and ended up with Anatole. It has a great minimalistic home page and the wonderful dark mode feature, as you can see in an example below (or by navigating to my home page!).

Purely leveraging the instructions on the Quick Start and the theme’s readme, I was up and running in no time with the help of my good friend localhost. A key thing to note is that one of the steps of generating the static website requires you to run the hugo command. This will generate the HTML, CSS and JavaScript that powers the static site.
Making it my Own
Following a tutorial and running things locally is usually the easy part. Now I needed to customise the site so that it reflects who I am. Changing the main profile picture, the subtext, and the social icons was straightforward as explained in the Anatole documentation. Even the Salesforce “social” icon is supported! After a lot of thought, I decided to leave out Myspace.
One aspect to working with pictures in Hugo, is that they should be stored in the static folder of your repository. This is because Hugo will manage these pictures as static resources that can be referenced from within your content. Nothing too extraordinary, but it can be confusing if you’re used to referencing files relative to the location of the content file.

Publishing the Initial version
Having run this thing locally, I naively thought my website would work by pushing things into my GitHub Pages repo. Remember when I told you about the key understanding of how the static site is generated - yes we still need to run hugo!
Luckily GitHub offers a CI/CD mechanism called GitHub Actions that allowed me to do exactly that with every commit to the main branch of my repo. By copying and slightly tweaking an official example, I was finally able to see the first version shine out on the public internet!
Finishing Touches
As a final step, there was still the matter of enabling the DNS lookup. This took some time to get right because I wasn’t used to how Route 53 worked and neither am I a networking expert. In the end I just had to listen to Aragorn.

Summary
It all started out with trying to set up a very simple website. I dove into the Hugo rabbit hole and ended up with a beautiful combination of technologies: a website hosted on GitHub containing a minimalistic, good-lookcing, static website generated by Hugo through GitHub Actions, accessible via nicolasvandenbossche.com via AWS Route 53. A great learning experience and a cool result!